RPG system
RPG system basics: paint a map, place an NPC, walk around
Install the RPG system, paint your first map, place an NPC who talks, and press Playtest to walk around. No code needed.
RPG system basics: paint a map, place an NPC, walk around
The RPG system turns your story board into a world you can walk into. Paint maps, place characters and write events — no code needed.
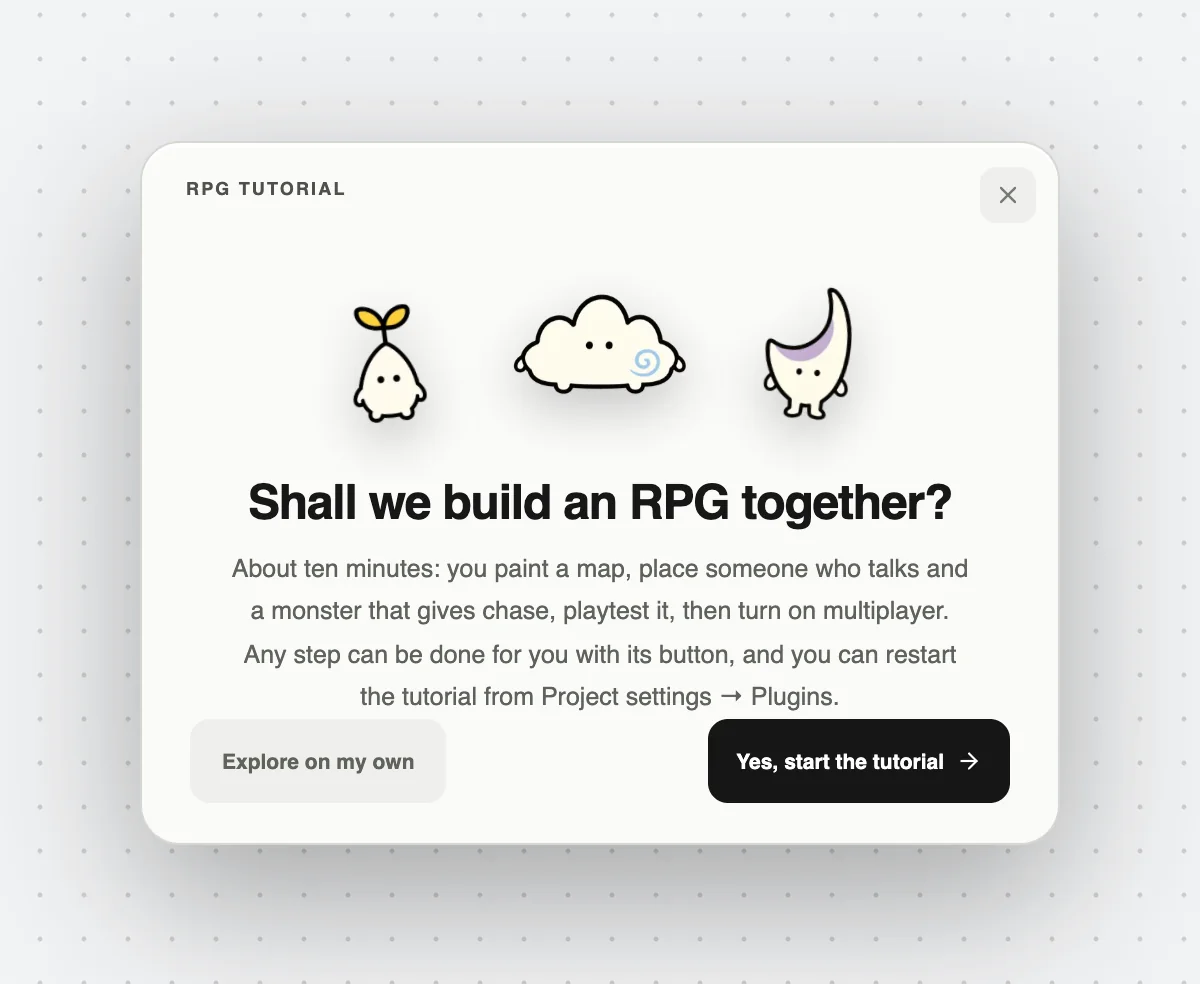
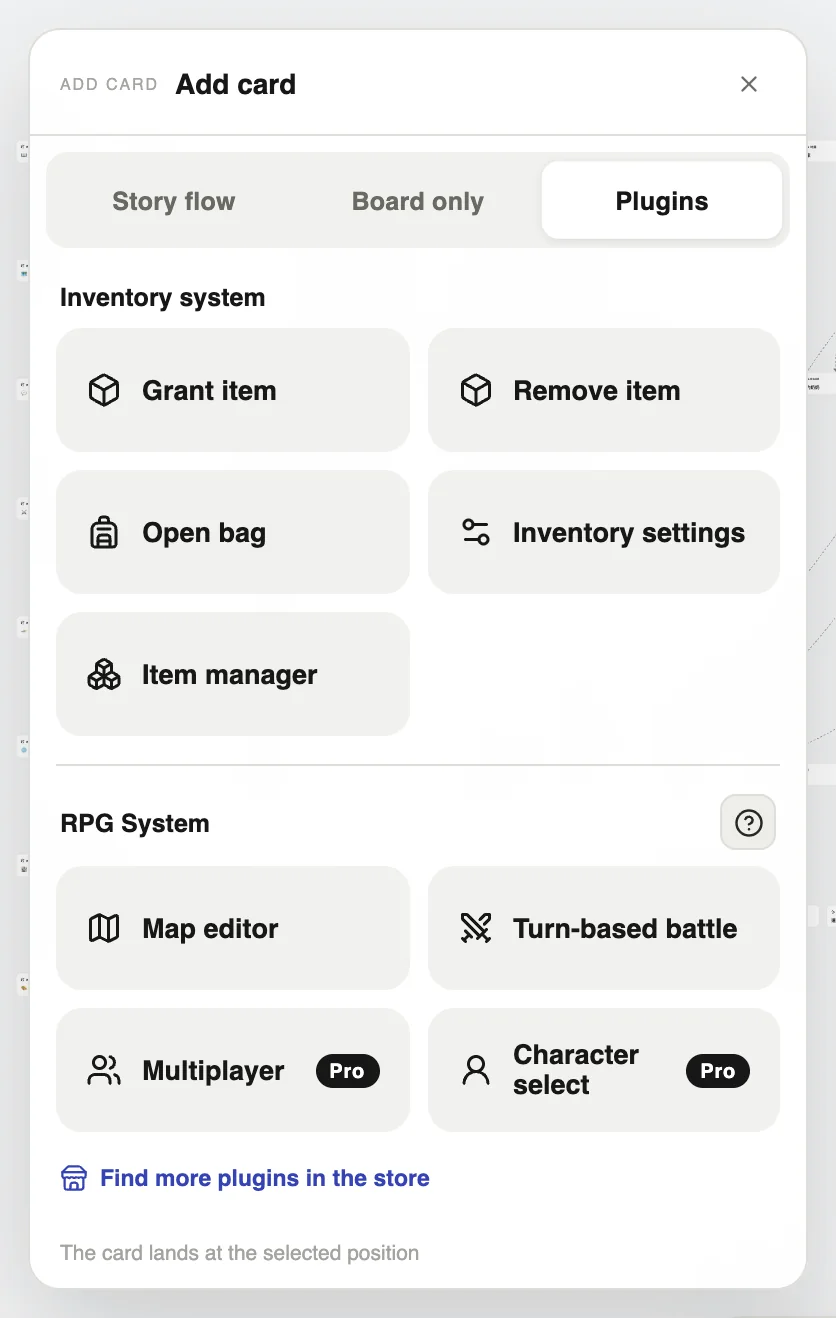
Want to follow along? Press Start guided tour above. Larch opens an RPG practice project and walks you through the basics in about ten minutes. Later, press ? beside RPG System in the add-card menu to run it again.
1. Install it and add a map card
- Marketplace → Plugins → RPG System → Add to My Assets, then import it into your project.
- Double-click the board → Plugins → Map editor.
- Click the map card to open the full-screen map editor.
2. Paint the map
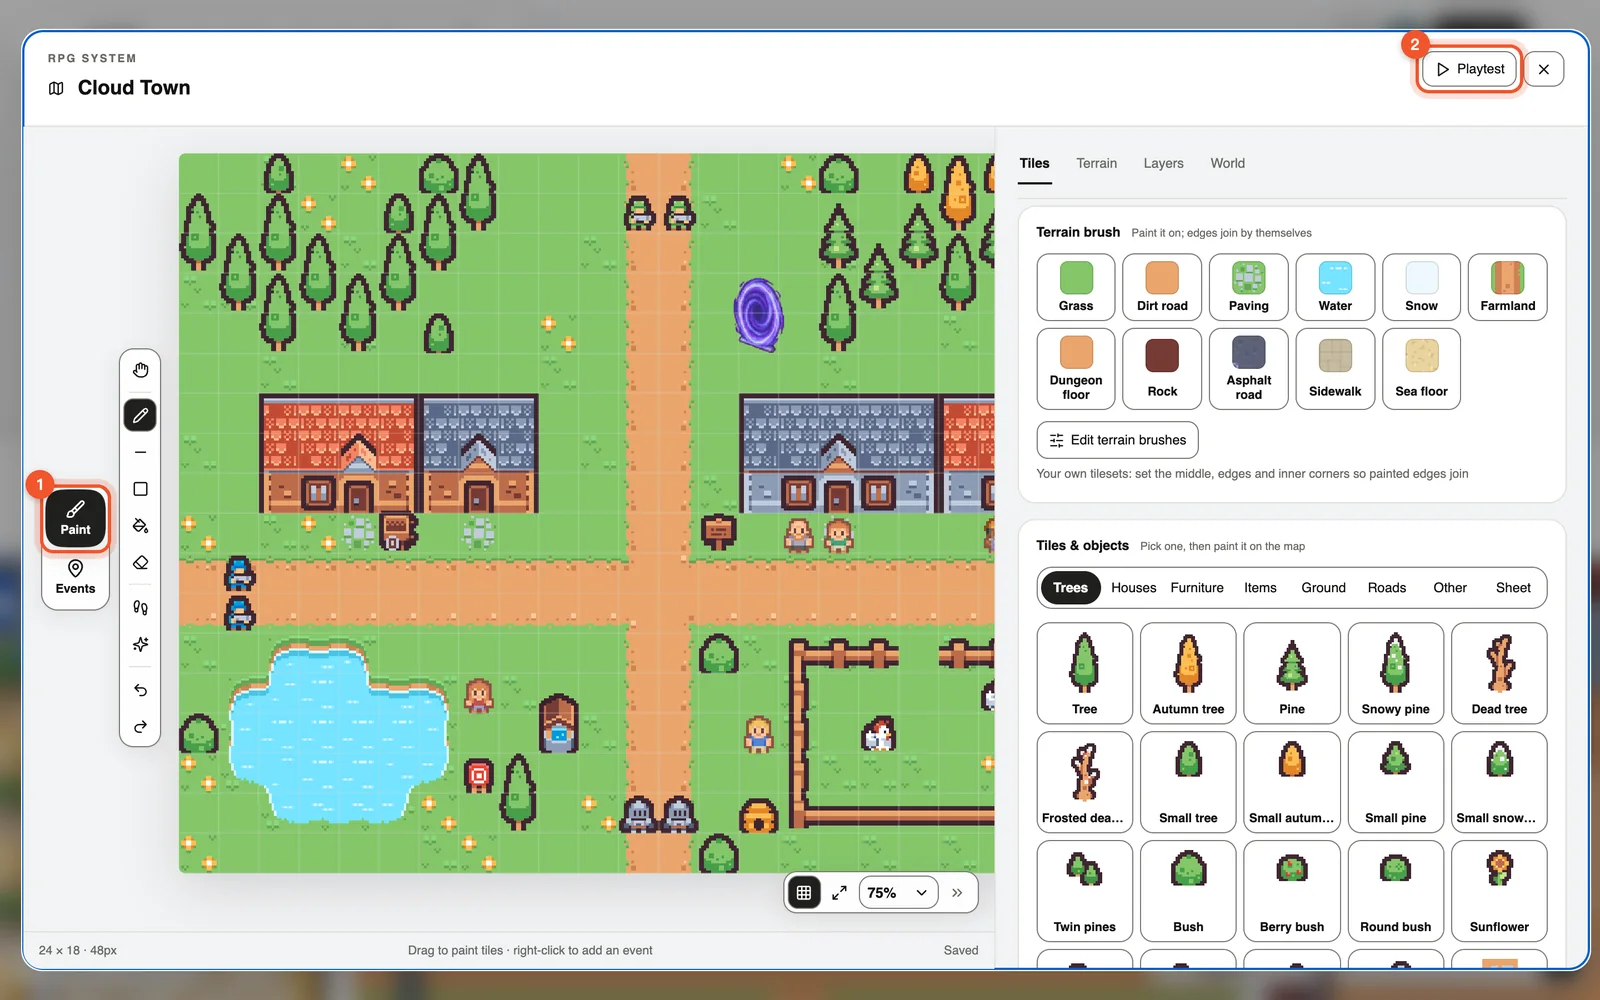
- Terrain brushes: grass, dirt road, water… paint them on and the edges join up by themselves.
- Tiles & objects: trees, houses, furniture — pick one, then paint it onto the map.
- Tools on the left: brush, line, rectangle, fill, eraser, undo.
3. Use AI or a preset
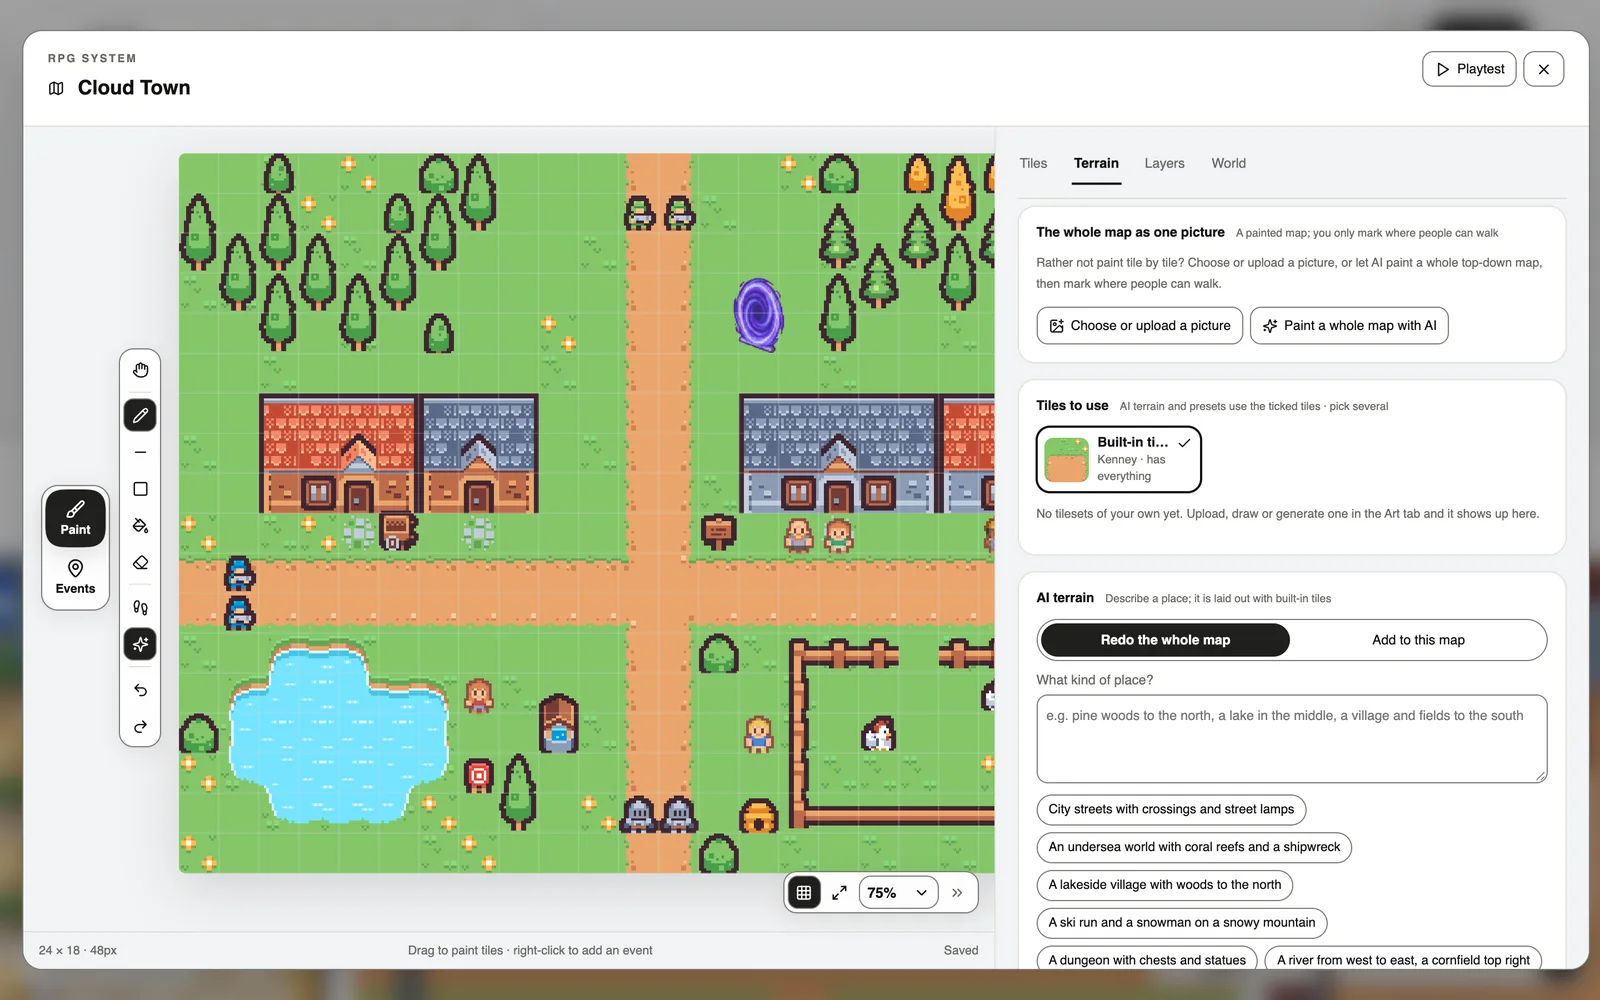
On the Terrain tab, describe the place in a sentence and AI lays out the whole map (1 Pinecoin, free on Pro). Or pick a preset such as a green village, a forest lake or an ancient dungeon.
4. Mark where people can walk
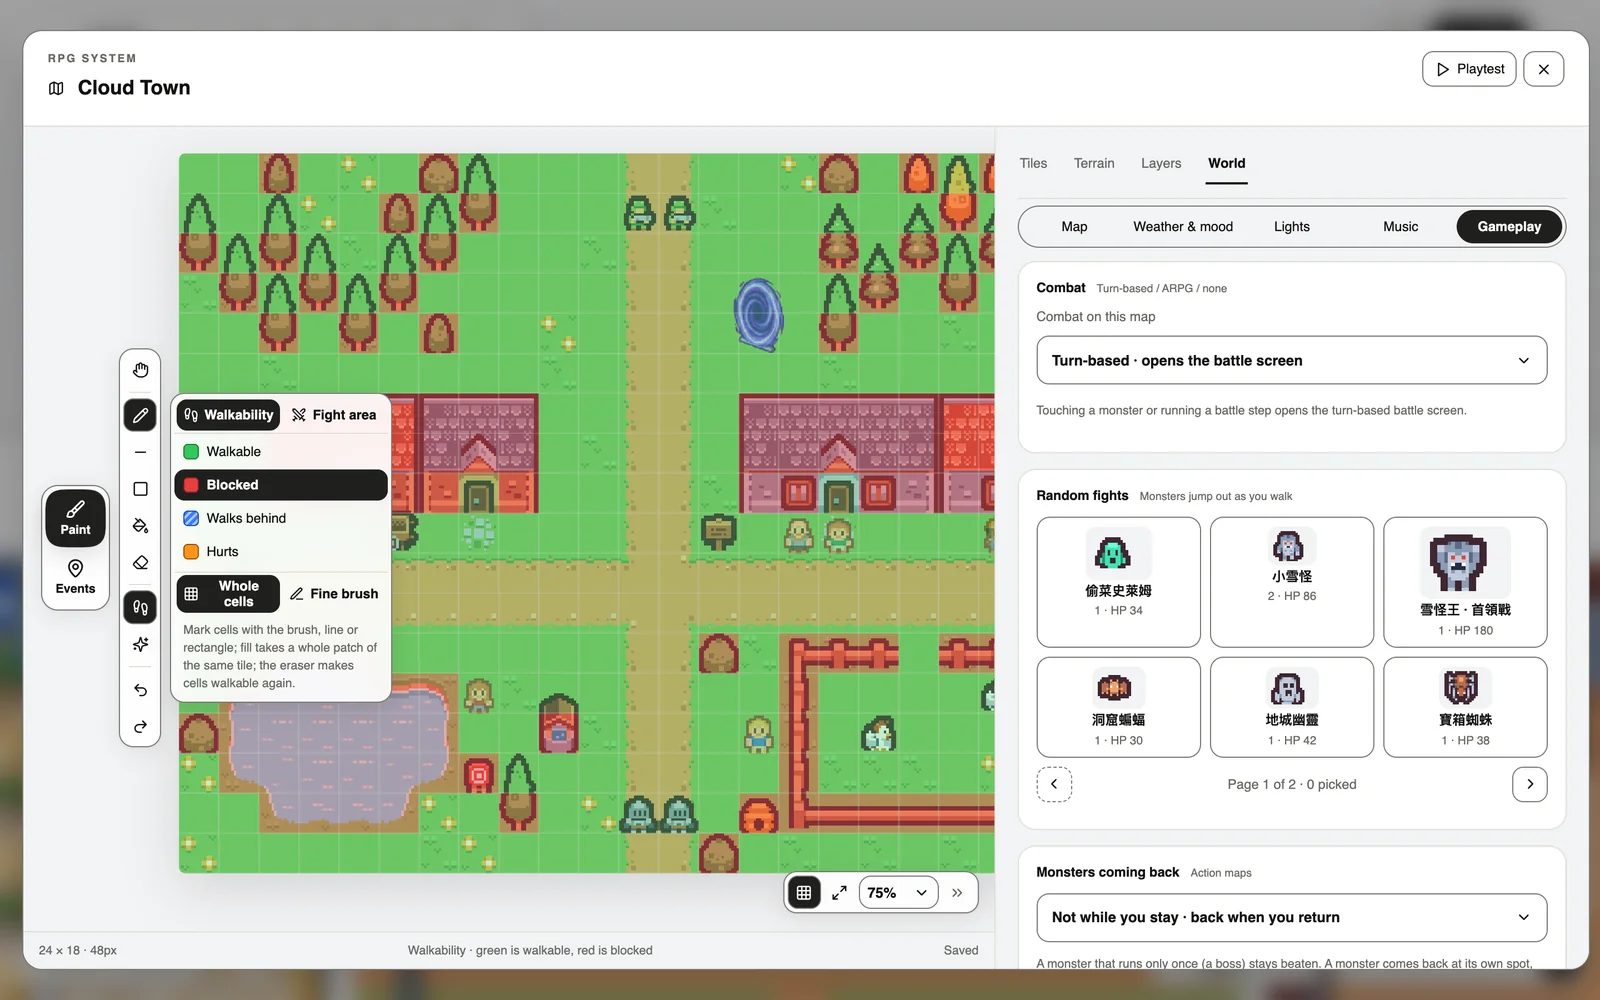
Press the footprints, Walkability, on the left: green is walkable, red is blocked, blue walks behind, orange hurts.
5. Place an NPC who talks
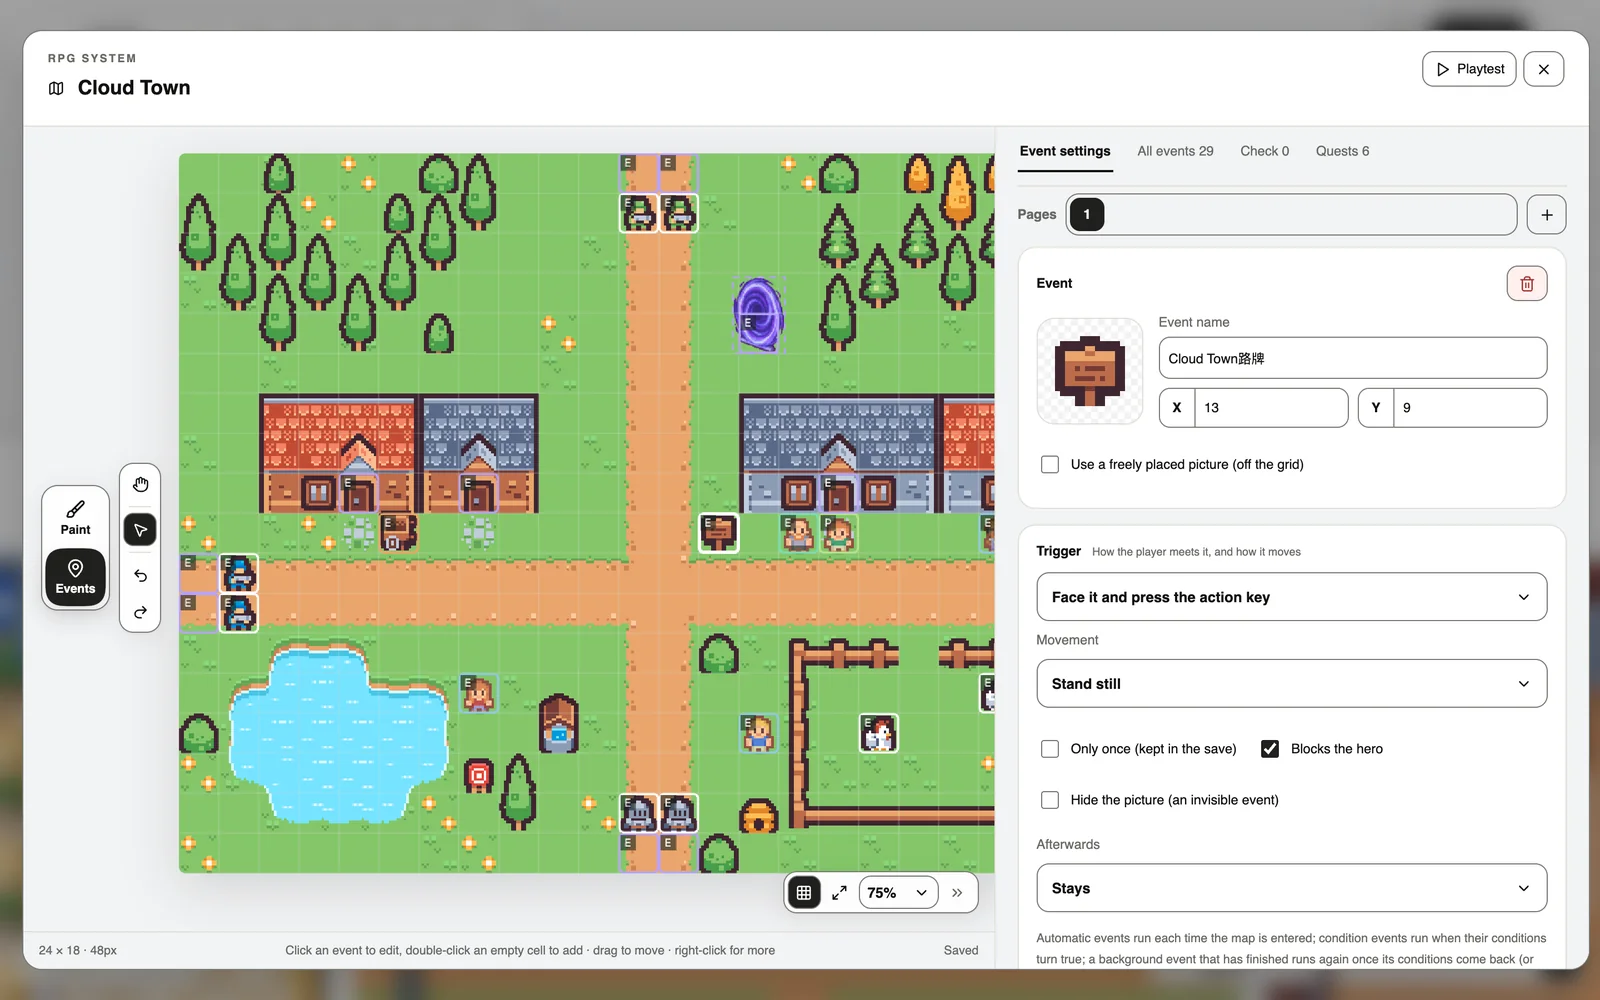
- Switch to Events mode on the left.
- Double-click an empty cell and choose a character NPC.
- Pick a look, then press Add a step → Dialogue.
6. Playtest
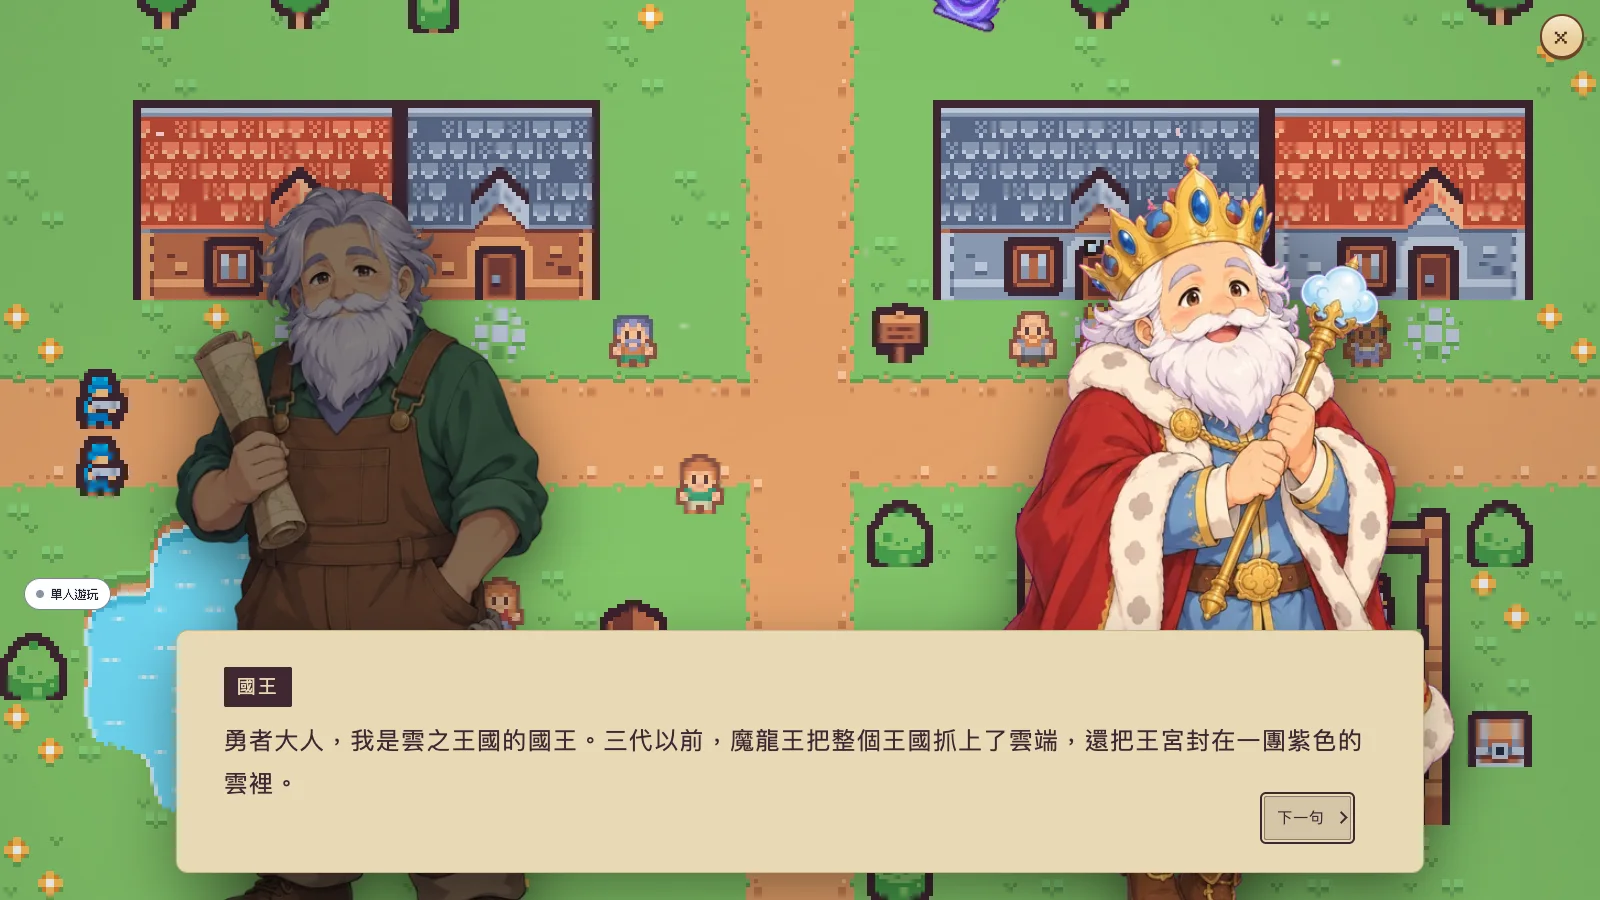
Press Playtest in the top-right corner. Walk with the arrow keys or WASD, talk with Space or Enter, and open the menu with X.
What next
- RPG: battles, quests and multiplayer
- The sample game Cloud Kingdom: on the RPG System store page, press Remix sample game and open any part to see how it is made.